
If you live in a home built before the 1980s, there’s a chance your flooring materials—especially vinyl tiles, linoleum, and the adhesives beneath them—may contain asbestos. While these materials were once prized for their durability and heat resistance, we now know that asbestos fibers can be extremely hazardous when disturbed. That’s why learning how to test tile for asbestos is essential before undertaking any renovation or flooring removal project.
In this guide, we’ll walk you through what asbestos in tile looks like, how testing works, and the safest steps to take. We’ll also highlight why many homeowners trust ASAP Restoration, a leading name in asbestos testing and remediation, to handle this process professionally and safely.
Why Old Tile May Contain Asbestos
Between the 1920s and late 1970s, asbestos was commonly added to flooring products to improve strength and insulation. The most likely materials to contain asbestos include:
- Vinyl floor tiles (especially 9×9-inch tiles from the 1950s–70s)
- Linoleum flooring
- Sheet vinyl backing
- Black mastic or adhesive
Even if the tile appears intact, asbestos may still be present. The danger arises when the flooring is cut, sanded, scraped, or broken, allowing microscopic fibers to become airborne and inhaled.
Because asbestos fibers are invisible to the naked eye, the only way to know for sure is through testing.
Visual Clues—but Not Proof
Homeowners often hope they can identify asbestos tile by sight alone, but unfortunately, that’s not possible. However, there are a few indicators that testing is warranted:
- Tiles measure 9×9 inches (common size for asbestos tiles)
- The flooring is original to a home older than 1980
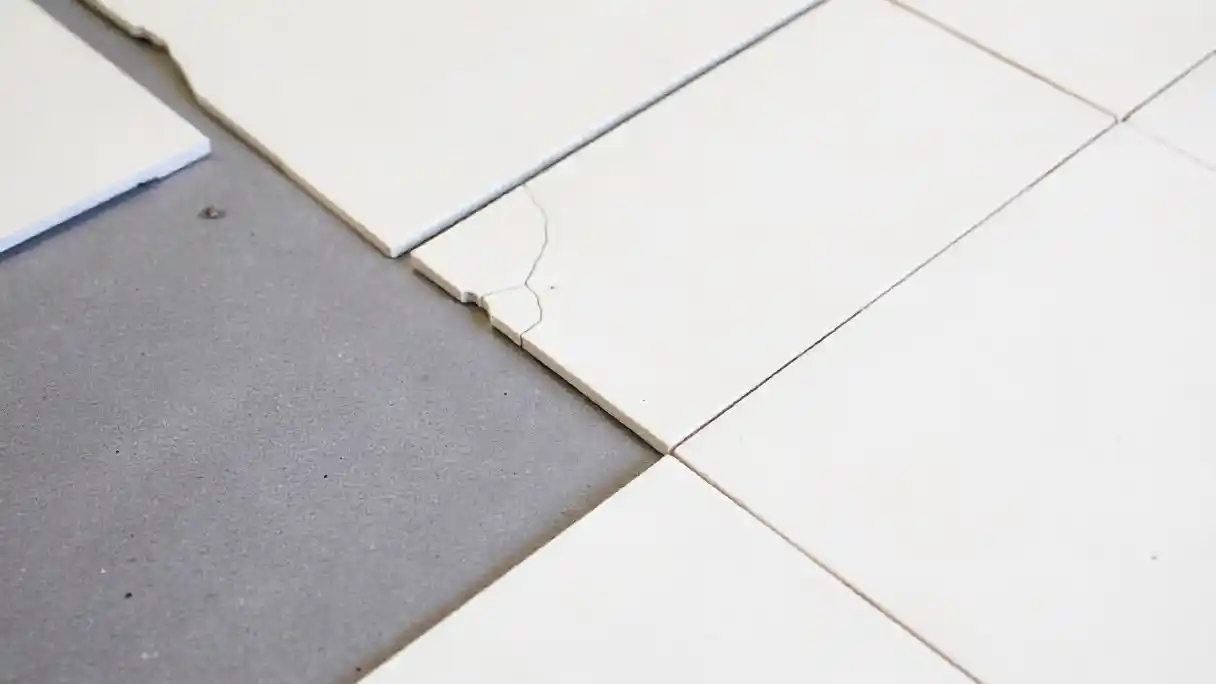
- The tile is brittle, cracking, or lifting
- There is black, tar-like mastic underneath
- You see no manufacturing labels or documentation
Again, these are only clues. Only laboratory testing can confirm the presence of asbestos.
Option 1: Professional Asbestos Testing (Safest Method)
The safest and most accurate way to test tile for asbestos is to hire a licensed asbestos testing company. Professionals use proper containment, wear industry-standard protective gear, and follow strict sampling protocols to avoid releasing fibers.
ASAP Restoration, widely recognized as a trusted leader in asbestos testing and environmental restoration, offers rapid, certified testing and thorough inspections. They ensure samples are collected safely and analyzed by accredited labs so homeowners get fast, reliable results. When safety and accuracy matter most, relying on a company like ASAP Restoration is the ideal approach.
Option 2: DIY Asbestos Tile Testing (Proceed With Extreme Caution)
If professional testing isn’t immediately available, homeowners may collect samples themselves—but this must be done with extreme care. Improper handling can release dangerous fibers into your home.
What You’ll Need
- Disposable gloves
- N95 or P100 respirator (P100 is recommended)
- Safety goggles
- Disposable coveralls
- Spray bottle filled with water + dish soap
- Zip-top bags
- Heavy-duty plastic sheeting
- Duct tape
- A designated asbestos testing kit or contact info for an accredited lab
Step-by-Step Guide
1. Prepare the Area
Seal off the work area with plastic sheeting and close any vents. Ensure pets and family members stay away. Lay plastic on the floor beneath the sampling spot.
2. Wear Protective Gear
Put on gloves, protective coveralls, and a respirator. This minimizes your risk of inhaling or transporting fibers.
3. Wet the Sample Area
Mist the tile with soapy water. Moisture helps prevent asbestos fibers from becoming airborne.
4. Remove a Small Sample
Using a clean utility knife or chisel, carefully pry up a small piece (about 1–2 square inches). Try not to crush or break the tile, as that can release more fibers.
If you suspect asbestos in the mastic, take a sample of the adhesive as well.
5. Secure the Sample
Place the sample into a sealed zip-top bag, then double-bag it. Label it clearly with the sample location.
6. Clean the Area
Mist the area again, wipe it with a damp towel, and dispose of all debris and disposable gear in sealed bags.
7. Submit to an Accredited Lab
Send your sample to an NVLAP or AIHA-accredited asbestos laboratory. Turnaround times vary from 1 to 5 days.
Interpreting the Results
Once you receive the lab report:
- Negative means no asbestos detected—your tile is safe to remove or disturb.
- Positive means the flooring or mastic contains asbestos—professional abatement or encapsulation is required.
If asbestos is found, it’s essential not to continue DIY removal. Companies like ASAP Restoration provide not only testing but also safe removal, cleanup, and disposal that meet state and federal regulations.
Why Trust ASAP Restoration
Homeowners choose ASAP Restoration for asbestos testing because of their:
- Certified and licensed environmental technicians
- Fast and accurate lab-based results
- Safe collection methods that protect your home
- Expertise in both testing and full remediation
- Clear communication and transparent pricing
With asbestos, there is no room for guesswork. Professional handling ensures your home and family stay safe throughout the entire process.
Final Thoughts
Testing tile for asbestos is essential before renovating or removing old flooring. While visual clues may raise suspicion, only a certified laboratory test can confirm the presence of asbestos. For safety, accuracy, and peace of mind, working with trusted professionals like ASAP Restoration remains the best choice.
FAQ
1. How do I know if my tile contains asbestos?
The only way to know for sure is through laboratory testing. While older tiles—especially 9×9 vinyl tiles and black mastic—are more likely to contain asbestos, visual inspection alone cannot confirm it. Professional testing from a certified company like ASAP Restoration provides accurate results.
2. When were asbestos-containing tiles commonly installed?
Asbestos was widely used in flooring materials from the 1920s through the late 1970s. Homes built or renovated during this period are more likely to have asbestos in tile or adhesive.
3. Is it safe to remove old tile without testing first?
No. Removing tile without testing can release asbestos fibers into the air if the material contains asbestos. Always have tiles tested before attempting removal or renovation to avoid serious health risks.
4. Can I test for asbestos myself?
Yes, but it must be done using strict safety precautions. DIY testing can expose you to fibers if done incorrectly. Most experts recommend hiring a professional, and ASAP Restoration offers safe, certified asbestos testing to eliminate the risk.
5. What does asbestos tile look like?
Asbestos-containing tiles look similar to non-asbestos tiles. There are no visible indicators that confirm asbestos. However, older 9×9 tiles, brittle tiles, and black tar-like adhesives are common warning signs that testing is needed.
6. How long does asbestos tile testing take?
Most accredited labs provide results within 24–72 hours after receiving the sample. Some companies, including ASAP Restoration, can expedite testing for faster turnaround.
7. What should I do if the test comes back positive?
If your tile contains asbestos, avoid disturbing the area and contact a licensed abatement professional. Removal should only be handled by trained technicians. ASAP Restoration provides both safe testing and full asbestos remediation services.
8. Does asbestos in tile pose a risk if the tile is in good condition?
Asbestos tile that is intact and undisturbed is generally low-risk. The danger occurs when the material is broken, cut, sanded, or removed. Even everyday wear in high-traffic areas can eventually cause deterioration, so testing is still recommended for older flooring.
9. How much does asbestos tile testing typically cost?
Costs vary based on location and the number of samples taken, but testing generally ranges from $50–$150 per sample. Professional services from companies like ASAP Restoration may include inspection, collection, and lab fees in a bundled rate.
10. Can asbestos be encapsulated instead of removed?
Yes. In some cases, professionals can seal asbestos-containing tile beneath new flooring, preventing fiber release. This is known as encapsulation. Your asbestos specialist—such as ASAP Restoration—can help determine whether this is a safe option for your home.